Inspiration
Every year we try to come up with gift ideas that we think the team will like. Sometimes there is a theme; other times it is just a random assortment.
We had recently come across this site, SendCutSend. They had lots of awesome projects, and we tried to figure out some way to use them. (BTW, I am definitely designing something like this for me!) We landed on the idea of custom grill spatulas, which would be stylish, functional, and in-keeping with our burgeoning theme.
To be practical, we searched for companies that offered complete custom spatulas. Unfortunately, the only place we found had high minimum order quantities and, frankly, they looked a bit cheap. So, I said, “I can make the handles. It shouldn’t take too long.” D’oh!
Design
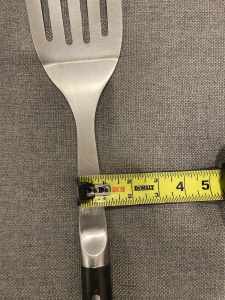
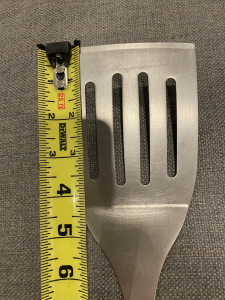
We started with a sample spatula to get the basic dimensions.
From there, Shaun created a Jackpine design.
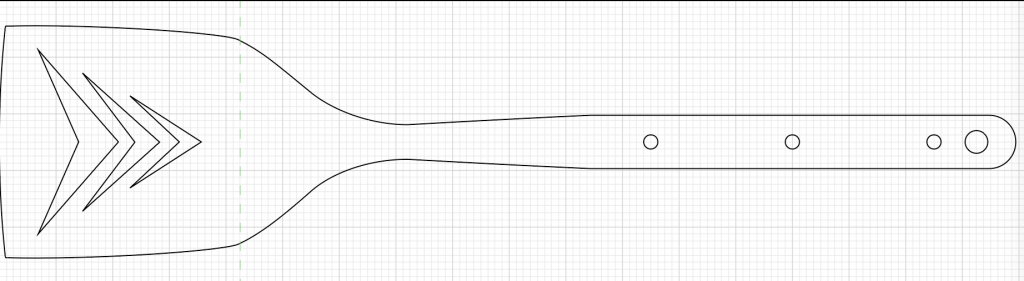
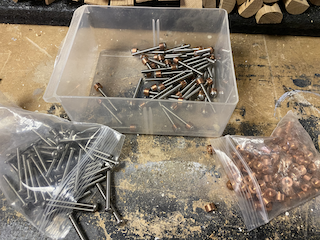
We submitted an order for 30 spatula blades in 304 Stainless Steel, 0.074″ thick. A couple of weeks later, the blades arrived, laser cut and bent to our specs.
Construction
While waiting for the blades, I gave some thought to/did some research on how I was going to make the handles – what material to use, how to attach them, etc. Once they arrived, the fun began. I ended up using every power tool in the old workshop; that made me happy.
Throughout the process I made a variety of jigs; some were simple, others more elaborate. Jigs are like CONS3RT Assets for the real world: they ensure consistency, accuracy, and repeatability. For the quantity involved, these jigs were practical and made things considerably faster (yes, it could have been slower).
Blade Prep
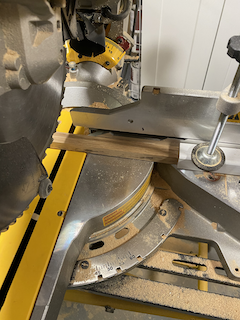
1. Remove Tab
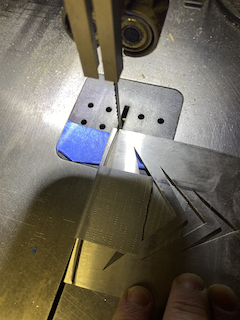
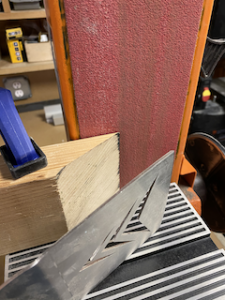
Shaun’s design instincts insisted on a curve across the front. However, in order to put the bend in them, the front needed a straight edge to set it in the press brake. As such, we added an extra tab across the top; it was easy enough to cut off. The duct tape you see was added to each blade and used to hold the scrap piece in place. Otherwise, it would go flying across the room at very high speeds (can confirm!).
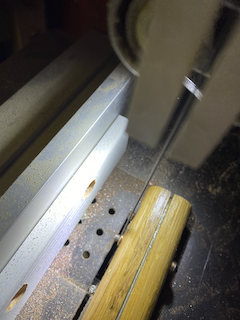
2. Blade Bevel
The front of the blade needed a bevel, so it can slide easily under the burgers. Once again, the desire for a curved edge added to the complexity. I used a block cut at an angle to support and guide it while I rotated the blade up and down against the belt sander.

3. Deburr
The laser cutting process left some very right angle (aka, sharp) edges. We wouldn’t want anyone cutting themselves while handling the spatula. A mix of tools and hand sanding were used to break the edges. The two angle cut blocks and base support block held it firm while sanding.
Handle Blanks
1. Material Prep
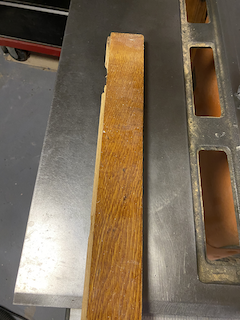
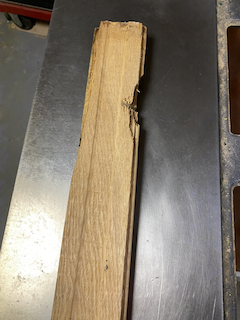
The material for the handles comes from 100-year-old white oak floor boards, reclaimed from my remodel. I ran them through the planer to clean off the old finish, remove the underside profile, and set the final height.
2. Rough Blanks
Next, I ripped the planed boards to width. For the first few, I cut them pretty close to the same width as the blades. I then quickly realized that doing so would not leave any wiggle room to locate the holes or to accommodate variation from the laser cutting. The rest were made about 1/64-1/32 wider on each side, and the excess would be sanded.
3. Rounding the Blanks
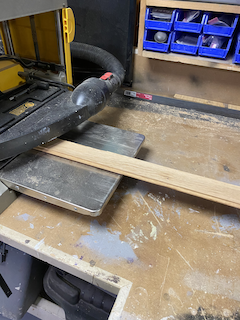
With height and width set, I ran the rough blanks through the router to create the rounded edge. Each one went through four passes – both sides, then rotated 90°, and both sides.
4. Cutting to Length
The rounded blanks were cut to length. Care was taken to cut around around nail holes and other damage.
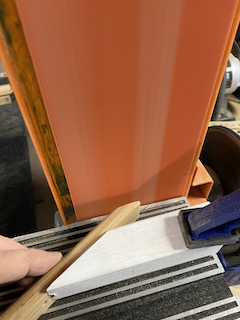
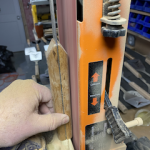
5. Handle Bevel
There needed to be some transition from the handle to the blade. We opted for an angle (ramp) from wood to metal. The sled (jig) made this process super simple. It also made sense to sand that surface before attaching, otherwise I was likely to scratch the metal. I made a couple of passes with different grits.
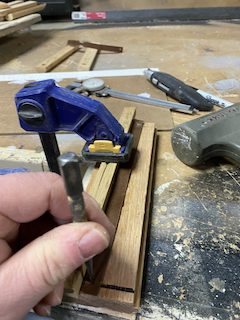
6. Holes
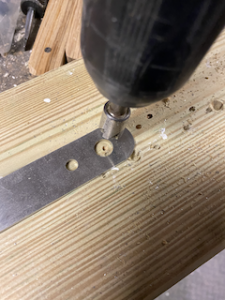
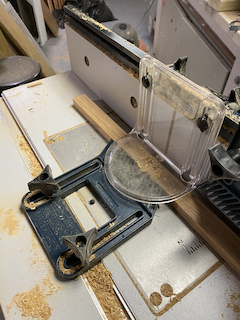
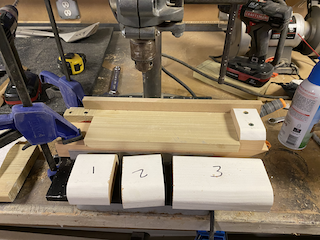
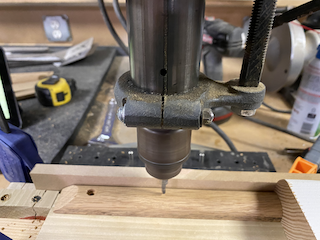
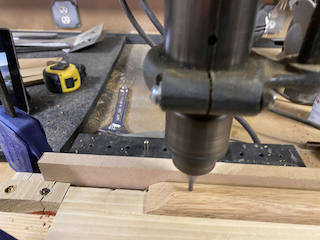
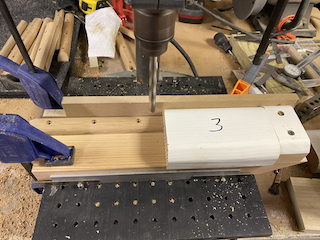
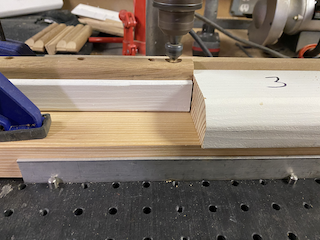
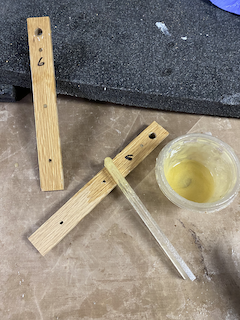
The jig for drilling the mounting holes went through a couple of iterations. At first it was just some clamped blocks and stops, but it did not account for the variation in widths (see 2. Rough Blanks step), and it was hard to dial in for the center line. The second jig was purpose made, but even then it still had to be adjusted with shims for the different widths.
The blanks were measured for width, grouped by size, then paired up and numbered. The drill bit created a shoulder for the assembly bolts (see below). The white spacer blocks set the location for the three mounting holes and the one strap hole. Lastly, the strap hole was countersunk to round it over.

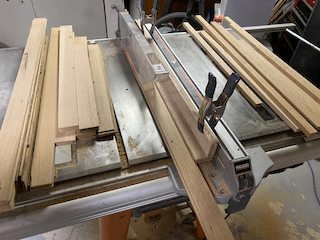
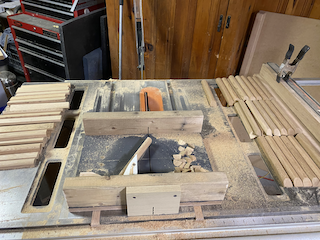
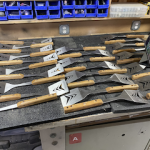
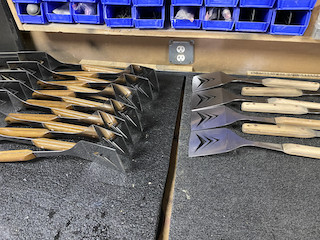
7. A Bunch of Blanks
The pile of blanks ready for assembly.
Assembly
1. Design
The handles are attached using epoxy and Loveless Fasteners. These fasteners use two heads (nuts) sitting on shoulders drilled into the handle and pulled together by the center bolt. Then the ends are trimmed off to create a smooth surface. We opted to go with a two-color design: a copper outer ring and a stainless steel center.
2. Epoxy
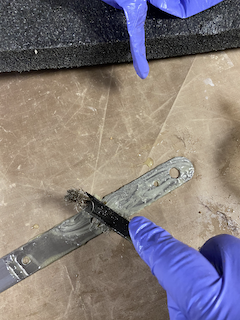
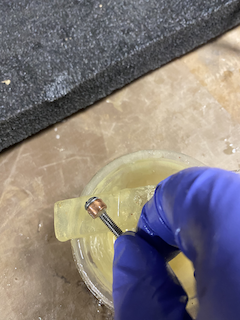
A two-part, marine-grade epoxy was applied to the wood handle blank, the metal blade, and the bolts. The blade was abraded with a wire brush to improve adhesion. (Lesson learned: heed the chemical manufacturer’s warnings on safety and handling. I will spare you those pictures.)
3. Bolts
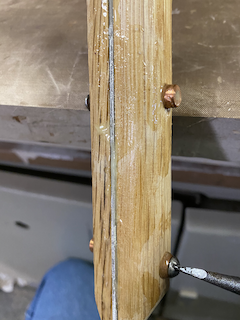
Epoxy was applied to the bolts, and the bolts were screwed in with “maximum effort”.
4. Trim the Bolts
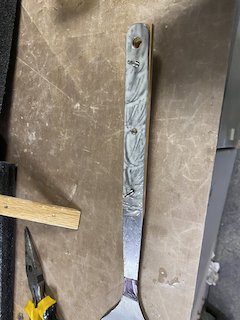
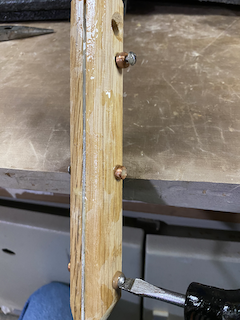
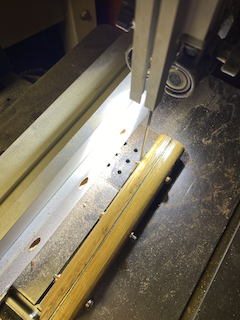
After the epoxy set, the bolts were trimmed flush-ish on each side.
5. Sanding, Sanding and More Sanding
Lots of sanding here. I contend you can make almost any shape you want with a belt sander and patience… Each spatula needed multiple sanding steps to:
- remove the excess epoxy on the surface from the assembly
- smooth over the trimmed bolts
- bring the handle width in line with blade
- smooth the edge of the blade that is seen between the handles
This step involved several grits of sand paper and a lot of rotating action to maintain the profile.

6. End Rounding
The ends needed to be rounded over to match the profile of the blades and the handles (multiple axis). Initially, I tried to run them through the router during the blank making process, but there was too much tearing and chipping. Plan B was some sort of dowel pin jig to guarantee an even shape. In the end, I free formed it, sanding while pivoting on the axis to create a matching radius. A little hand sanding afterwards and it was surprisingly accurate and consistent.


Finish
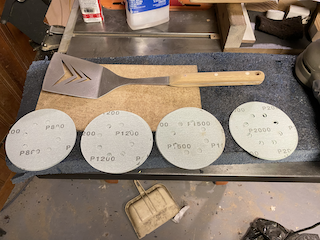
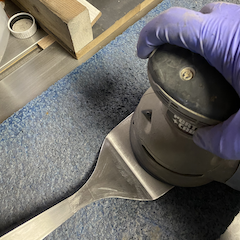
1. Polishing the Blades
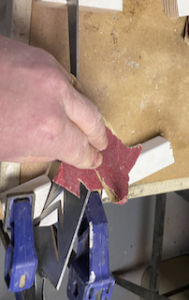
This is the step that really killed progress. The finish when the blades came in was OK, but not quite what you would expect for a finished product; plus they had marks from the bending process. In addition, some scuffs and scratches occurred during handling and assembly. Originally, I planned to use buffing compound and a couple of wheels on the bench top grinder. However, I think a) the scuffs and scratches were too deep, and b) the diameter of my grinder was too small to effectively work the wide part of the blade. So, I switched to a wet sanding approach using cutting fluids and working thru multiple sanding grits – starting at 220 and ending up on 2000! The Jackpine tree design was murder on the discs, tearing them frequently. This step consumed several Sunday afternoons but the end results were shiny.
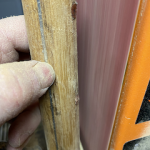
2. Finishing the Handles
The spatula handles went thru a final hand-sanding step, working up to 220 grit. Then each received three coats of food-grade mineral oil and two coats of a food grade mineral oil wax finish (the same stuff used on cutting boards). A little buffing was applied to create some shine. It is interesting how the very white wood takes on a honey-like color from just the clear liquid.
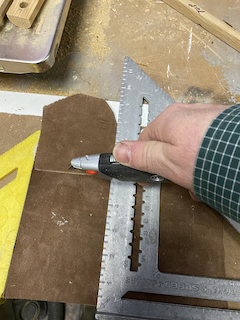
3. Making the Straps
I wanted to add a simple leather strap to make it easier to hang on a hook. The first step was to square up the oddly shaped leather pieces; then cut to width; and finally punch holes for the rivet.
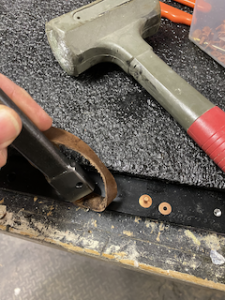
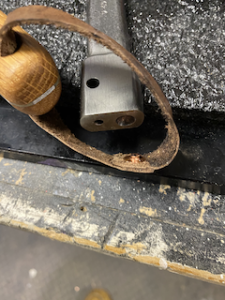
4. Attaching the Straps
The strap was connected with a small copper rivet. The stud portion was then trimmed, smashed, and sanded to finalize the assembly.
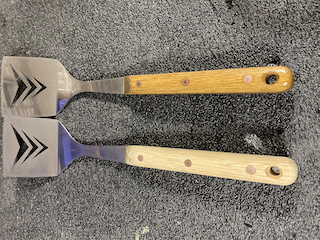
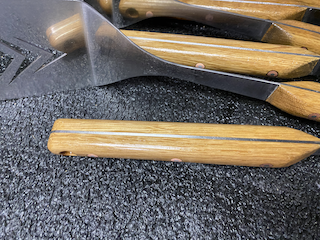
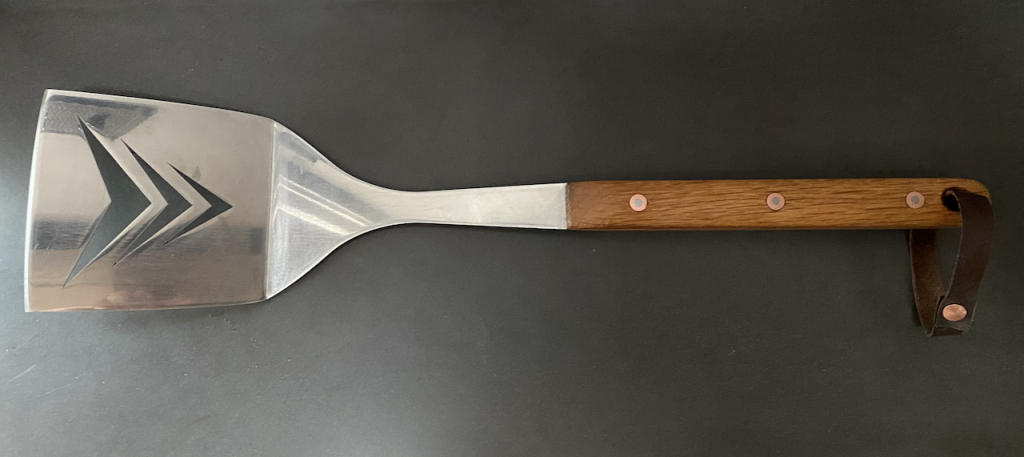
Finished Product
Pretty. And unexpectedly well balanced.
Lessons Learned
- It always takes longer than you think (#well_duh)
- We have too many employees 🙂
- Feature creep is always a thing
- Start sooner next time
- No one except me will ever see more than one spatula at a time, so stop worrying so much about how they look compared to each other
- Sanding belts do wear out and it is much easier to replace them than continuing to try to make them work (same is true for band saw blades, especially when cutting stainless)